


When you run too many programs on your Windows PC, the RAM may be insufficient and the PC may start to “lag”. To avoid this, it’s recommended to clean the RAM before opening “big” apps (games, video editors, graphics). It’s also useful to do a little cleaning and set apps to disable all little-used programs.
Even before the release of the operating system Windows 11, it became known that its hardware requirements are significantly higher than those of Windows 10. For example, it needs at least 4 GB of RAM. And so the question inevitably arose – what to do for those who have at their disposal an old PC or laptop with little RAM. Well, it turns out, it’s quite possible to do. Well, let’s take a closer look at how to reduce RAM usage on Windows 10 and 11.
What causes high RAM usage?
Often, if you don’t know much about PCs, you will have a hard time figuring out how much RAM your PC needs. Moreover, many of you may confuse memory with storage, but these are completely different concepts. Memory refers to RAM (operative storage), ROM (permanent storage), and cache memory. It’s used to store temporary data during the execution of a task. Whenever you run a program in Windows, the CPU will transfer data to memory to function efficiently, and as soon as you close the program, the data will be offloaded.
High memory usage can be caused by a variety of reasons, but it’s related to RAM or virtual memory. If you notice that apps are slowing down or freezing, it may be due to high memory usage. Before you move on to fixes, you need to understand what is causing the problem:
- Too many programs running at the same time
- Unnecessary services
- Many programs start on startup
- Not enough memory
- The system is infected with malware or a virus
- Improperly configured registry
Nevertheless, despite all these reasons, try rebooting your PC first. It is possible that some glitch has occurred and that RAM usage will return to a stale level after the reboot.
Read Also:
- How to enable hardware-accelerated GPU scheduling in Windows 11
- How to take screenshots on Windows 11
- How to fix ‘Page Fault in Nonpaged Area’ on Windows
How to close unnecessary apps in Windows
The easiest way to clear memory is to close apps. Often users run too many unnecessary apps, but don’t realize that this will affect system performance. If this is the case, try closing apps that you no longer need using the Task Manager in Windows. To do so, follow these steps:
- First of all, press “Ctrl + Shift + Esc” on your keyboard to open the Task Manager.
- Then, in the Task Manager, you will find the running apps listed under the “Processes” tab.
- Next to each app, you will see the memory consumption listed in the “Memory” column.
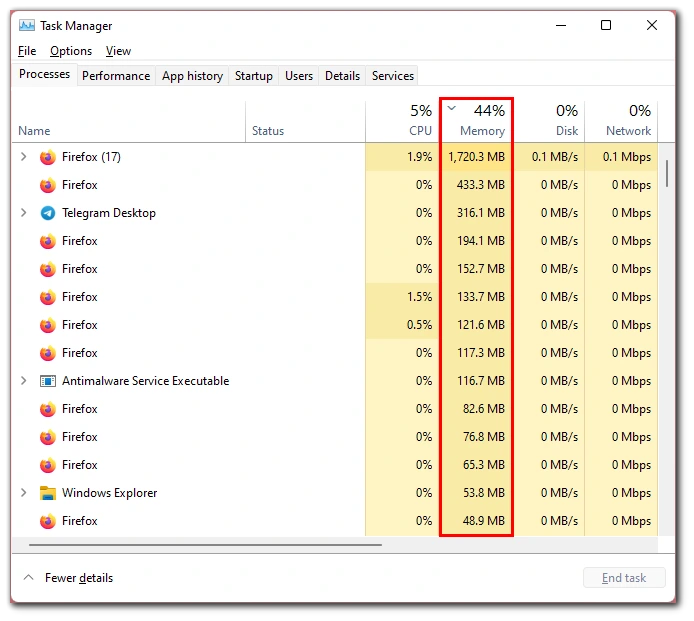
- Identify apps that are either consuming a lot of memory or those that aren’t relevant at the moment.
- Finally, right-click on the app and select the “End task” option to close it.
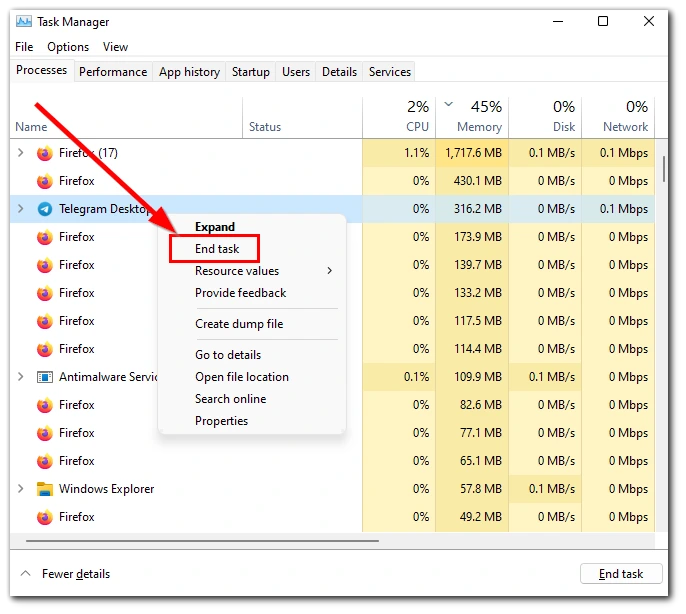
Once you have completed these steps, the app will close and no longer appear in Task Manager. Similarly, close other apps to reduce RAM usage. In some cases, you may need to run the Task Manager as an administrator.
How to disable the app launch on Windows startup
Several programs run immediately after you turn on your PC and take up a lot of memory. These apps/programs can cause a problem with high memory usage. To fix this, look at the apps that start at startup and remove unnecessary ones. To do this, follow these steps:
- Press “Ctrl + Shift + Esc” on your keyboard to open the Task Manager.
- After that, go to the “Startup” tab.

- Finally, right-click on the app you want to prevent from launching and click “Disable”.
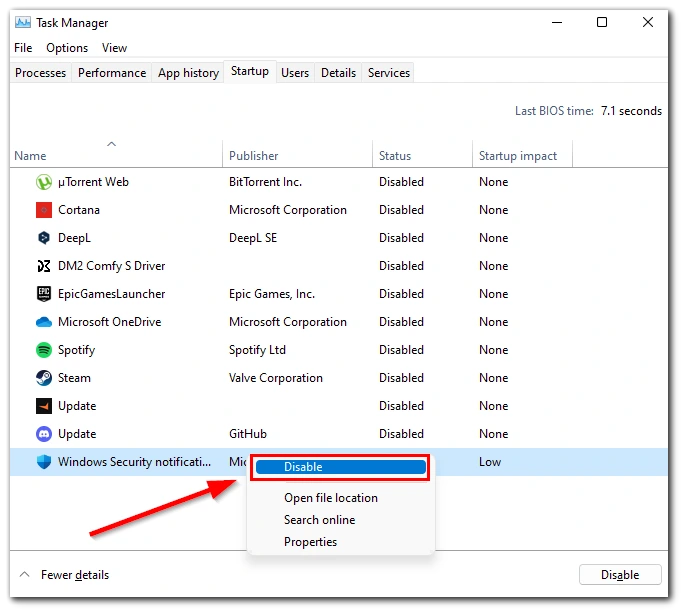
Once you have completed these steps, you will be able to disable the app launch on Windows startup.
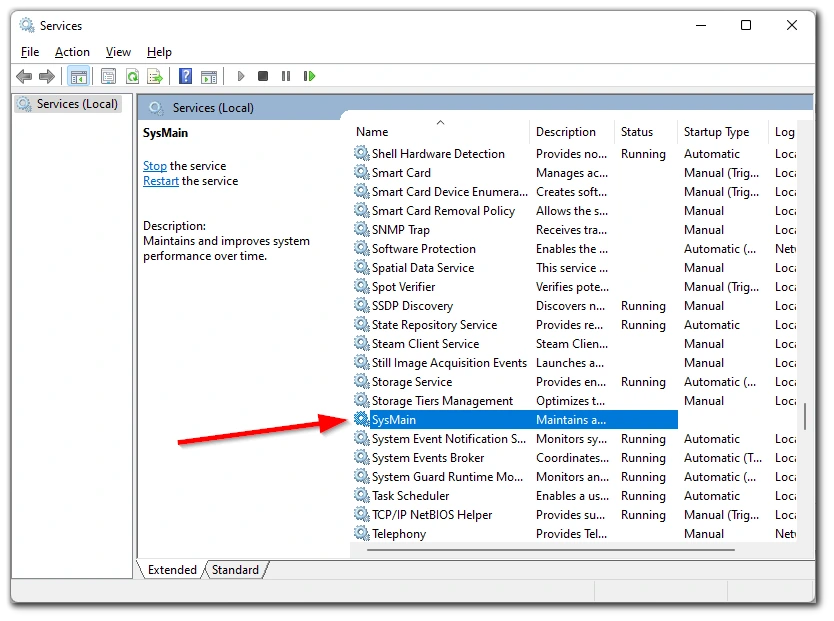
How to disable the SysMain service on Windows
The SysMain service helps preload frequently used programs into RAM for fast access and efficient operation. Although it greatly speeds up program access and improves system performance, SysMain can be one reason for high memory usage. You can try disabling this feature and see if it fixes the problem. If it doesn’t, re-enable the service as it improves PC performance. To disable it, follow these steps:
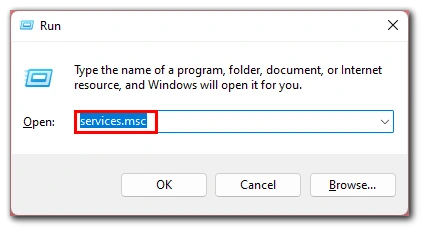
- Press “Win + R” on your keyboard.
- Then, enter the “services.msc” command in the text field and press Enter.
- After that, find and double-click the “SysMain” service. The services here are in alphabetical order, so it shouldn’t be hard to find them.
- In the service properties, click the “Startup type” drop-down menu and select “Disabled” from the list of options.

- Next, click “Stop” under “Service status”. Windows will shut down the service after a few seconds, and the progress will be shown in a dialog box on the screen.
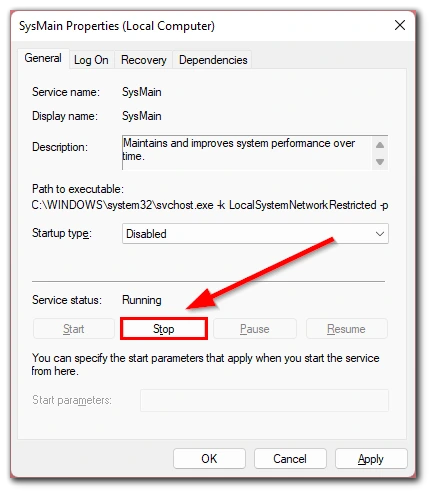
- Finally, after the service has been stopped, click “OK” at the bottom to save the changes and close the properties window.
Once you have disabled the service, check to see if the problem with high memory usage has been fixed and applications no longer slow down or freeze.
How to defragment a hard drive on Windows
Fragmentation is when blocks of data or fragments that make up a file are scattered all over the hard drive. This happens over time and slows down the system. Defragmentation is the process of merging these fragments into the physical space of the hard disk, which helps Windows quickly access such files.
Although Windows defragments your hard drive periodically by default, you should do it manually if you encounter excessive memory usage. Also, a modern SSD (solid-state drive) doesn’t require defragmentation, although you should perform the process on the hard disk (hard drive). To defragment a hard drive follow these steps:
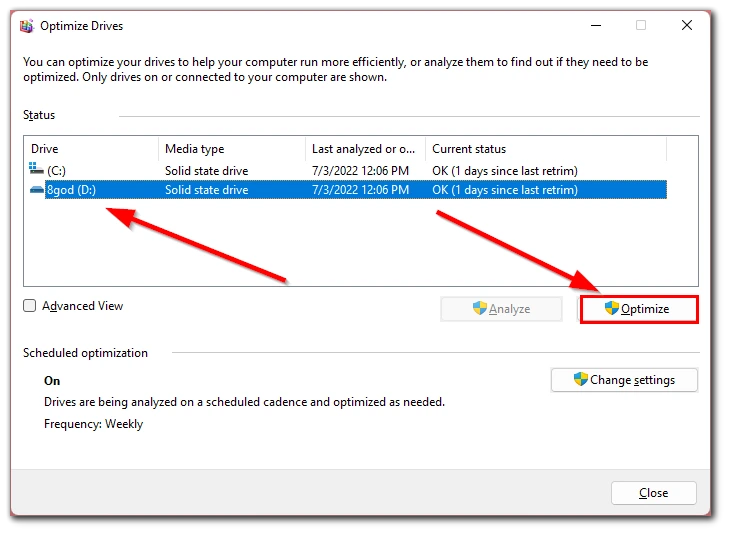
- Click on the Start button and enter “Defragment and Optimize Drives”.
- After that, open this app and you will see a list of drives in your system or connected to it.
- Select the one you want to defragment and click “Optimize”.
The process will start immediately and will take time, depending on the storage and how fragmented the disk is. Wait for the process to complete, restart your PC, and check if your memory usage has decreased.
Read Also:
- How to fix ntoskrnl.exe high RAM, CPU, and Disk Usage on Windows 10
- How to fix the MIC doesn’t work on Windows 10
- How to fix audio not working in Windows 10
Does increasing the RAM size help?
If none of the fixes above have solved the problem with high memory usage, you have no choice but to upgrade your physical memory or RAM. Before you do this, make sure that you know the current RAM on your system. Also, every system has a maximum amount of RAM, check this either on the system manufacturer’s website or in the manual that came with the system.
You can check the current RAM either in the “System” settings or in the “Task Manager”. Start “Task Manager” as discussed earlier and click on the “Performance” tab. Then select the “Memory” option on the left and the installed RAM will be listed in the upper right corner.

When it comes to upgrading RAM, expert advice is recommended because every system is unique, and generalizing about it will further complicate the problem rather than solve it.


