Should you install iCUE if you own Corsair devices
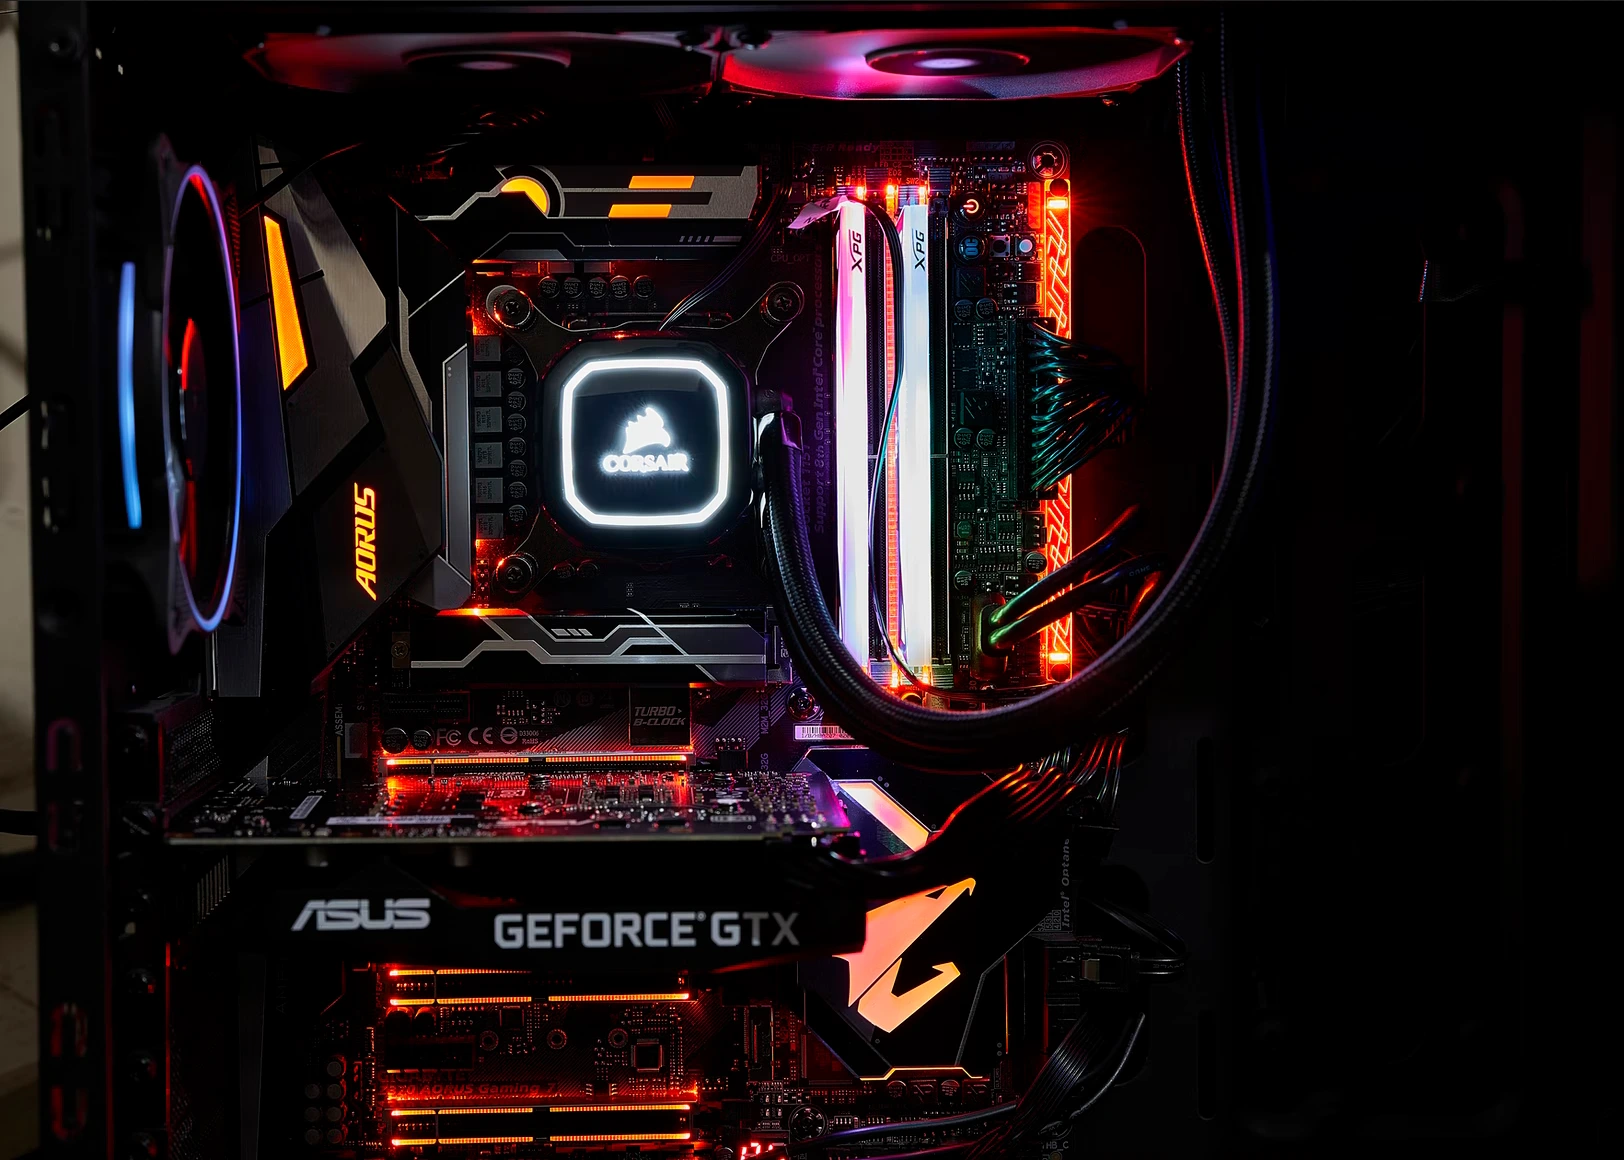
🇻🇪 Jose G. Ortega Castro 🇲🇽 / Unsplash

Component manufacturers try not only to attract but also to retain customers. A proven recipe is the creation of special software for branded products. Such ecosystems provide new opportunities for configuring and synchronizing components. Corsair Gaming, one of the most famous manufacturers of computer peripherals, has its system.

Corsair iCUE is Corsair’s component management system. It allows you to configure a wide variety of hardware parameters. The speed and rotation mode of the fans, memory modes, and so on. In addition, the ecosystem controls the backlighting of all elements with ARGB. Components with RGB and monochrome backlighting cannot be connected to the iCUE, you cannot control their glow through the Corsair software. Well, let’s figure out if it was worth installing iCUE on your PC.

What is Corsair iCUE?

Corsair Gaming, Inc. is a well-known American company that produces computer peripherals as well as components such as RAM, SSDs, computer cases, cooling solutions, and speakers. iCUE is a utility program that you can download for free from the Corsair website that allows you to manage all settings for each of your Corsair peripherals and components (as long as they are compatible) in one place.

iCUE includes features you might find in similar software created by their competitors, such as the Roccat Swarm or Logitech G Hub, such as: managing RGB settings, setting macros for your keyboard and mouse, and setting custom profiles for specific games.

In addition, the Corsair iCUE also allows you to change the power settings of various internal components, control their temperatures, and adjust and control the fan and pump speeds of your cooling solutions.

You can connect almost all kinds of Corsair components to the ecosystem. Cases, power supplies, fans, and liquid cooling systems, keyboards, mice, headphones, mouse pads, and individual LED strips. In addition, iCUE supports backlight control of some ASUS motherboards.

Read Also:

How to install Corsair iCUE

You can install iCUE just like most other software. Simply go to the software download page of the Corsair website and click on the latest version of Corsair iCUE that matches your operating system. You will likely be asked if you want to join the Corsair mailing list, but you can skip that and download anyway.

Once you have downloaded the executable, open it and follow the instructions of the installation wizard. If you don’t have any issues with installing iCUE, you can continue. Once the installation is complete, you can either open the software by clicking on the shortcut or by searching in the search bar of the Start menu and then clicking on it.

Before using Corsair iCUE, make sure that it’s fully updated. To do this, follow the steps below:

  • Open iCUE and click on the “Settings” tab on the toolbar in the upper right corner of the window.
  • In the new window that opens find the “ICUE SETTINGS” item at the bottom of the window, you should see the current software version listed at the bottom.

There should be a “Check for update” button next to it. Click on it and if a new update appears, iCUE will prompt you to install it. It’s as easy as updating the Zoom app, for example.

How do Corsair iCUE case fans work?

The iCUE can control the operating mode of the case fans. It’s possible to set sensor temperatures, set coefficients, and so on. This control is done only through the controller. Fans connected to a normal motherboard won’t be controlled by iCUE. When the controller is connected, the corresponding tab appears in iCUE. Through this tab, you can make fine adjustments to the case fans. For each of the connected fans, you can:

  • set a fixed percentage of the maximum rotation speed
  • set a fixed speed in rpm
  • graph the rotation speed depending on the temperature sensor (CPU, motherboard, etc.)

The separately sold iCUE-compatible case fans have a non-standard JCORSAIR backlight connector. It can be found on some MSI and ASUS motherboards. However, it cannot be plugged into the 5V ARGB connector on most motherboards. In this case, you need to buy a separate fan controller – iCUE Commander PRO or iCUE Commander CORE.

However, even if the board has the necessary slot, it doesn’t guarantee anything. The thing is that usually there’s only one such slot on the board. However, there can be several “luminous” components. In this case, you will need a splitter – CORSAIR RGB Fan LED Hub. Sometimes these elements are included in the kit. In this case the connection of the backlight won’t cause any problems.

How to control the power supply operation in iCUE

iCUE provides extensive control over the operation of Corsair power supplies. The user can see the exact values of all output voltages, the current power of the power supply, and its temperature. The software even allows you to adjust the fan speed of the power supply.

The backlight on Corsair power supplies will work as soon as they’re turned on. However, its capabilities will be severely limited. Most power supplies have a separate button that can be used to select one of the preset backlight effects.

Power supply backlighting can be synchronized with or controlled by software. This requires a connection to the Corsair connector on the motherboard (if there’s one) or to the backlight controller (if there’s no connector on the motherboard).

How to control external devices with iCUE

Keyboards, headsets, mice, and other Corsair devices don’t require additional devices for inclusion in the ecosystem. It doesn’t matter if they are wireless or USB-connected devices. iCUE allows you to configure Corsair keyboard settings (here it depends on the model), macro recording, and key backlight control.

You can lock some key combinations. You can change the purpose of the function keys, adjust the color of the LEDs’ glow, and so on. You can assign macros consisting of keystrokes, cursor movements, and mouse clicks. For Corsair iCUE mice you can calibrate and adjust various parameters. The full list of settings depends on the model.

A mouse with additional buttons gives great possibilities. For example, you can assign a keyboard key to each button. You can also click a button to start a macro.

For Corsair headphones and headsets, the iCUE app has an equalizer tab. It allows you to change the sound picture in different conditions. You can set several profiles for different modes – conversational, gaming, cinema, and so on.

Read Also:

How to create custom profiles on the Corsair iCUE

Custom Profiles means that you can store all the different device settings, bindings, macros, and RGB settings that you come up with in one named profile that you can easily switch depending on your needs/which game you play. Follow the steps below to create your profile:

  • On the home page, you should see a section on the left side “Profiles” that already has the default profile listed. It’s recommended to leave the default profile as is and create a new one to change it.
  • If you click on the plus sign, a new profile should be created, whose name you can change as you like by double-clicking it.
  • Once you select a profile on the left for any device that you click and change the settings, they will be saved in that profile.

Different devices will have different changeable settings that will appear on the left below the selected profile. For example, the keyboard shown in the picture lists actions (with which you can create macros), lighting effects, and performance. The mouse shown in the image, in addition to the above, shows the DPI (under which you can change the sensitivity) and the surface calibration. If you want to revert to the default settings, simply re-select the default profile on the left.

Well, if you like cool backlighting and you’re willing to spend a little time customizing your profile, then you should definitely install the Corsair iCUE on your system. It will end up looking very bright and beautiful, and will also look organic in your living room or streamer room.

Previous articleHow to fix WAN Miniport driver errors in Windows 10
Next articleHow to set a sleep timer in Apple Music on Android

LEAVE A REPLY

Please enter your comment!
Please enter your name here