Almost everyone is already used to Internet use, and connecting to the Wi-Fi network has become commonplace. All modern LG TVs support both wired and wireless Internet connections. The setup is quite simple and does not require special knowledge. The only nuance is that the configuration path may differ in TVs of different years of production due to changes made to the operating system.
Wi-FI setup path for LG TVs by year of manufacture
| webOS Version | Release Years | Menu Path to Wi-Fi Connection |
|---|---|---|
| webOS 24 – 6.0 | 2024 – 2021 | Settings [Settings] button on the remote control → [All Settings] → [General] → [Network] → [Wi-Fi Connection] |
| webOS 5.0 | 2020 | Settings [Settings] button on the remote control → [All Settings] → [Connections] → [Network Connection Settings] → [Wi-Fi Connection] |
| webOS 4.5 | 2019 | Settings [Settings] button on the remote control → [All Settings] → [Connections] → [Wi-Fi Connection] |
| webOS 4.0 and earlier | 2018 and earlier | Settings [Settings] button on the remote control → [All Settings] → [Network] → [Wi-Fi Connection] |
Connecting and Advanced Wi-Fi Settings on LG TVs
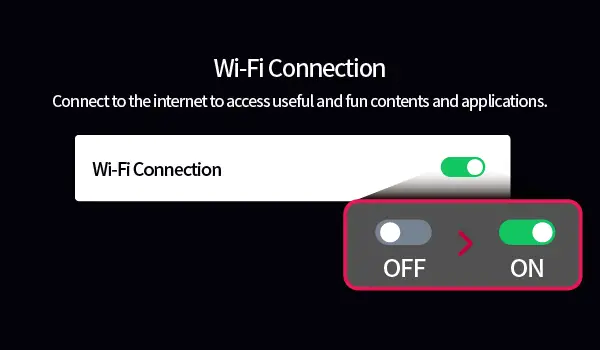
When you open the Wi-Fi connection menu on your LG TV, you will find a variety of options, which may vary depending on the model. To begin, turn on the Wi-Fi, and the TV will automatically scan for all available networks. Select the network you wish to connect to, and you will need to enter the network password (unless you’re using an open network). After entering the password, simply press the “Connect” button, and the TV will establish a connection to the internet.
The latest TV models offer advanced Wi-Fi connection settings that provide additional options.
Advanced Wi-Fi Settings
In the Wi-Fi connection menu, you can select “Other network settings” to access more detailed options.
- Adding a Hidden Wireless Network: If you’re trying to connect to a hidden wireless network that doesn’t appear in the list, you can manually add it by entering its name (SSID). Although the TV cannot detect hidden networks, entering the network’s name will allow the TV to connect to it.
- Connecting via WPS PBC (Push Button Configuration): If your wireless router supports WPS-PBC (Wi-Fi Protected Setup-Push Button Configuration), you can easily connect your TV to the router without entering a password. To do so, press the WPS-PBC button on the router, then press the [Connect Wi-Fi] button on your TV. This will allow the TV and router to exchange access keys and establish a connection securely.
- Connecting via WPS PIN: Alternatively, if your router supports WPS PIN (Wi-Fi Protected Setup-Personal Identification Number), you can connect using a PIN. Some routers have a small screen that displays the PIN, while others provide it through the router’s menu or via a dedicated button. Enter the PIN displayed on your router into the corresponding field on the TV, and the TV will connect to the network.
- Advanced Wi-Fi Settings After Connection: Once you’ve connected to a wireless network, you can view detailed connection information, such as your IP address. If needed, you can also modify the IP address or DNS server settings by selecting the Edit button. These advanced settings are typically only necessary for users who are setting up a custom access network, such as when using a unique DNS server or configuring access via a VPN. This feature is particularly useful for accessing streaming services that may have regional restrictions, allowing you to route your TV’s traffic to a preferred server.


