


Apple is a well-known company whose products attract more and more users every day. Apple devices are one of the most quality and full-featured devices. Users prefer iPhones, iPads, and Macs for their simple interface, as the developer’s team has made everything to let you fully experience the benefits of the device without any special efforts.
However, even though there are many advantages of using a Mac, there are still some drawbacks. One of those disadvantages is the possibility of recording audio on a Mac. Unfortunately, it can’t be done with the operating system which initially comes with Mac. However, you shouldn’t worry, there are still some ways to record audio on your Mac for any of your needs so that you can choose the most convenient one for you.
What for you can record audio on Mac
Recording audio on Mac can be used for different reasons. For example, you may want to record how do you sound to others, or your university lecturer has been talking too fast and you need to revise the information at home, maybe you need to record some important conference, etc.
Everything that is connected with sound on Mac is quite simple. You can even transfer the sound of your Mac with HDMI. Moreover, your Mac can be connected to a bigger screen so, with these 2 options, you’ll be able to watch your favorite content on a bigger screen with a great sound.
Even though the built-in microphone of your Mac can’t record the high-fidelity sound and the audio recording apps that were preinstalled on your computer weren’t full-featured enough, the developers cared about making the process of audio recording simple enough on Mac. So, don’t worry and keep on reading.
Read also:
- How to fix AirPods not connecting to MacBook
- How to set up Google Drive on Mac
- What to do if MacBook Pro isn’t turning on
How to record audio with Voice Memos on Mac
“Voice memos” is a preinstalled app on all Apple devices. It gives you a great opportunity to use Mac’s initial options to save the moments. dialogues, lectures, etc. Moreover, all the memos would be saved in the app, so it’s also convenient to find the desired one. So, if you want to record audio with Voice Memos on Mac, you should follow the steps which would be mentioned in the section below:
- First of all, you should switch on your Mac.
- After that, you should open the “Launchpad“.
- Then, you should find the “Voice Memos” app and tap to open it.
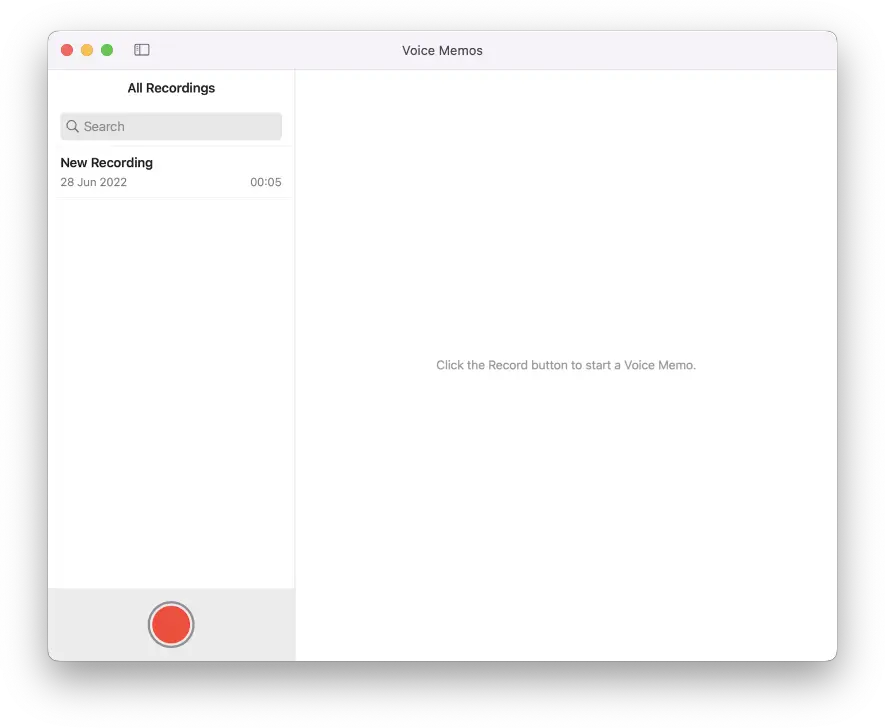
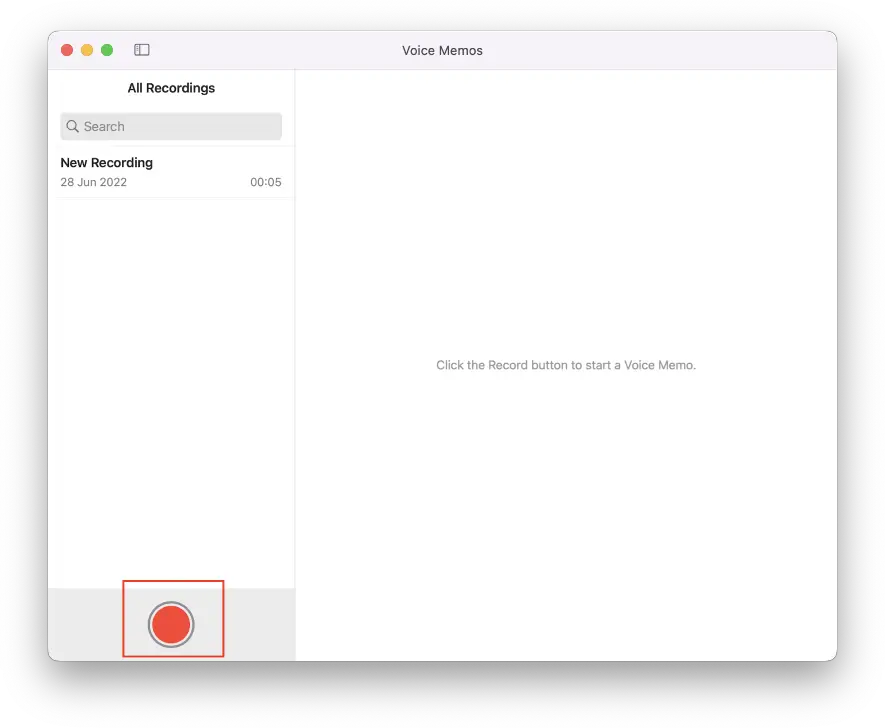
- Next, you should tap on the big red circle to start to record the sound.
- After that, you should tap on the red pause button (two parallel vertical lines in an oval) to stop the recording.
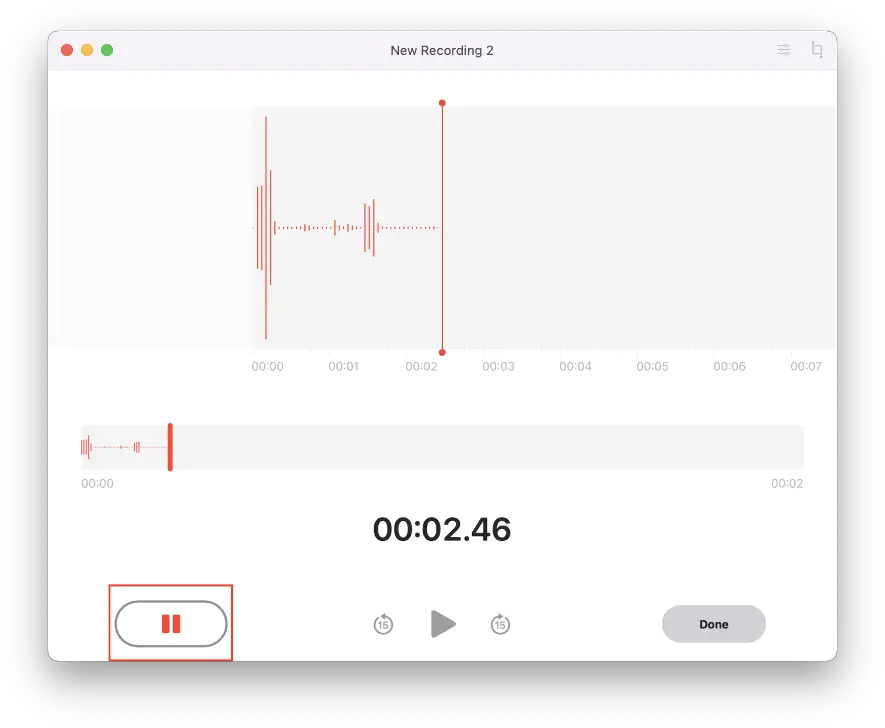
- To complete the process, you should tap on the “Done” option and click on the “New Recording” field to rename the file.

As I said, you can access the recordings whenever you want by opening the app. Moreover, you can also edit your recordings to make them sound as you want. So, the app has many great features that can greatly influence your recording experience.
How to record audio with QuickTime on Mac
QuickTime is another preinstalled app on Mac. However, in comparison to Voice Memos, it has one benefit. It’s much simpler to find where you want to save the recording and the process of sharing files is easier. So, if you want to record audio with QuickTime on Mac, you should follow the steps which would be mentioned in the section below:
- First of all, you should switch on your Mac.
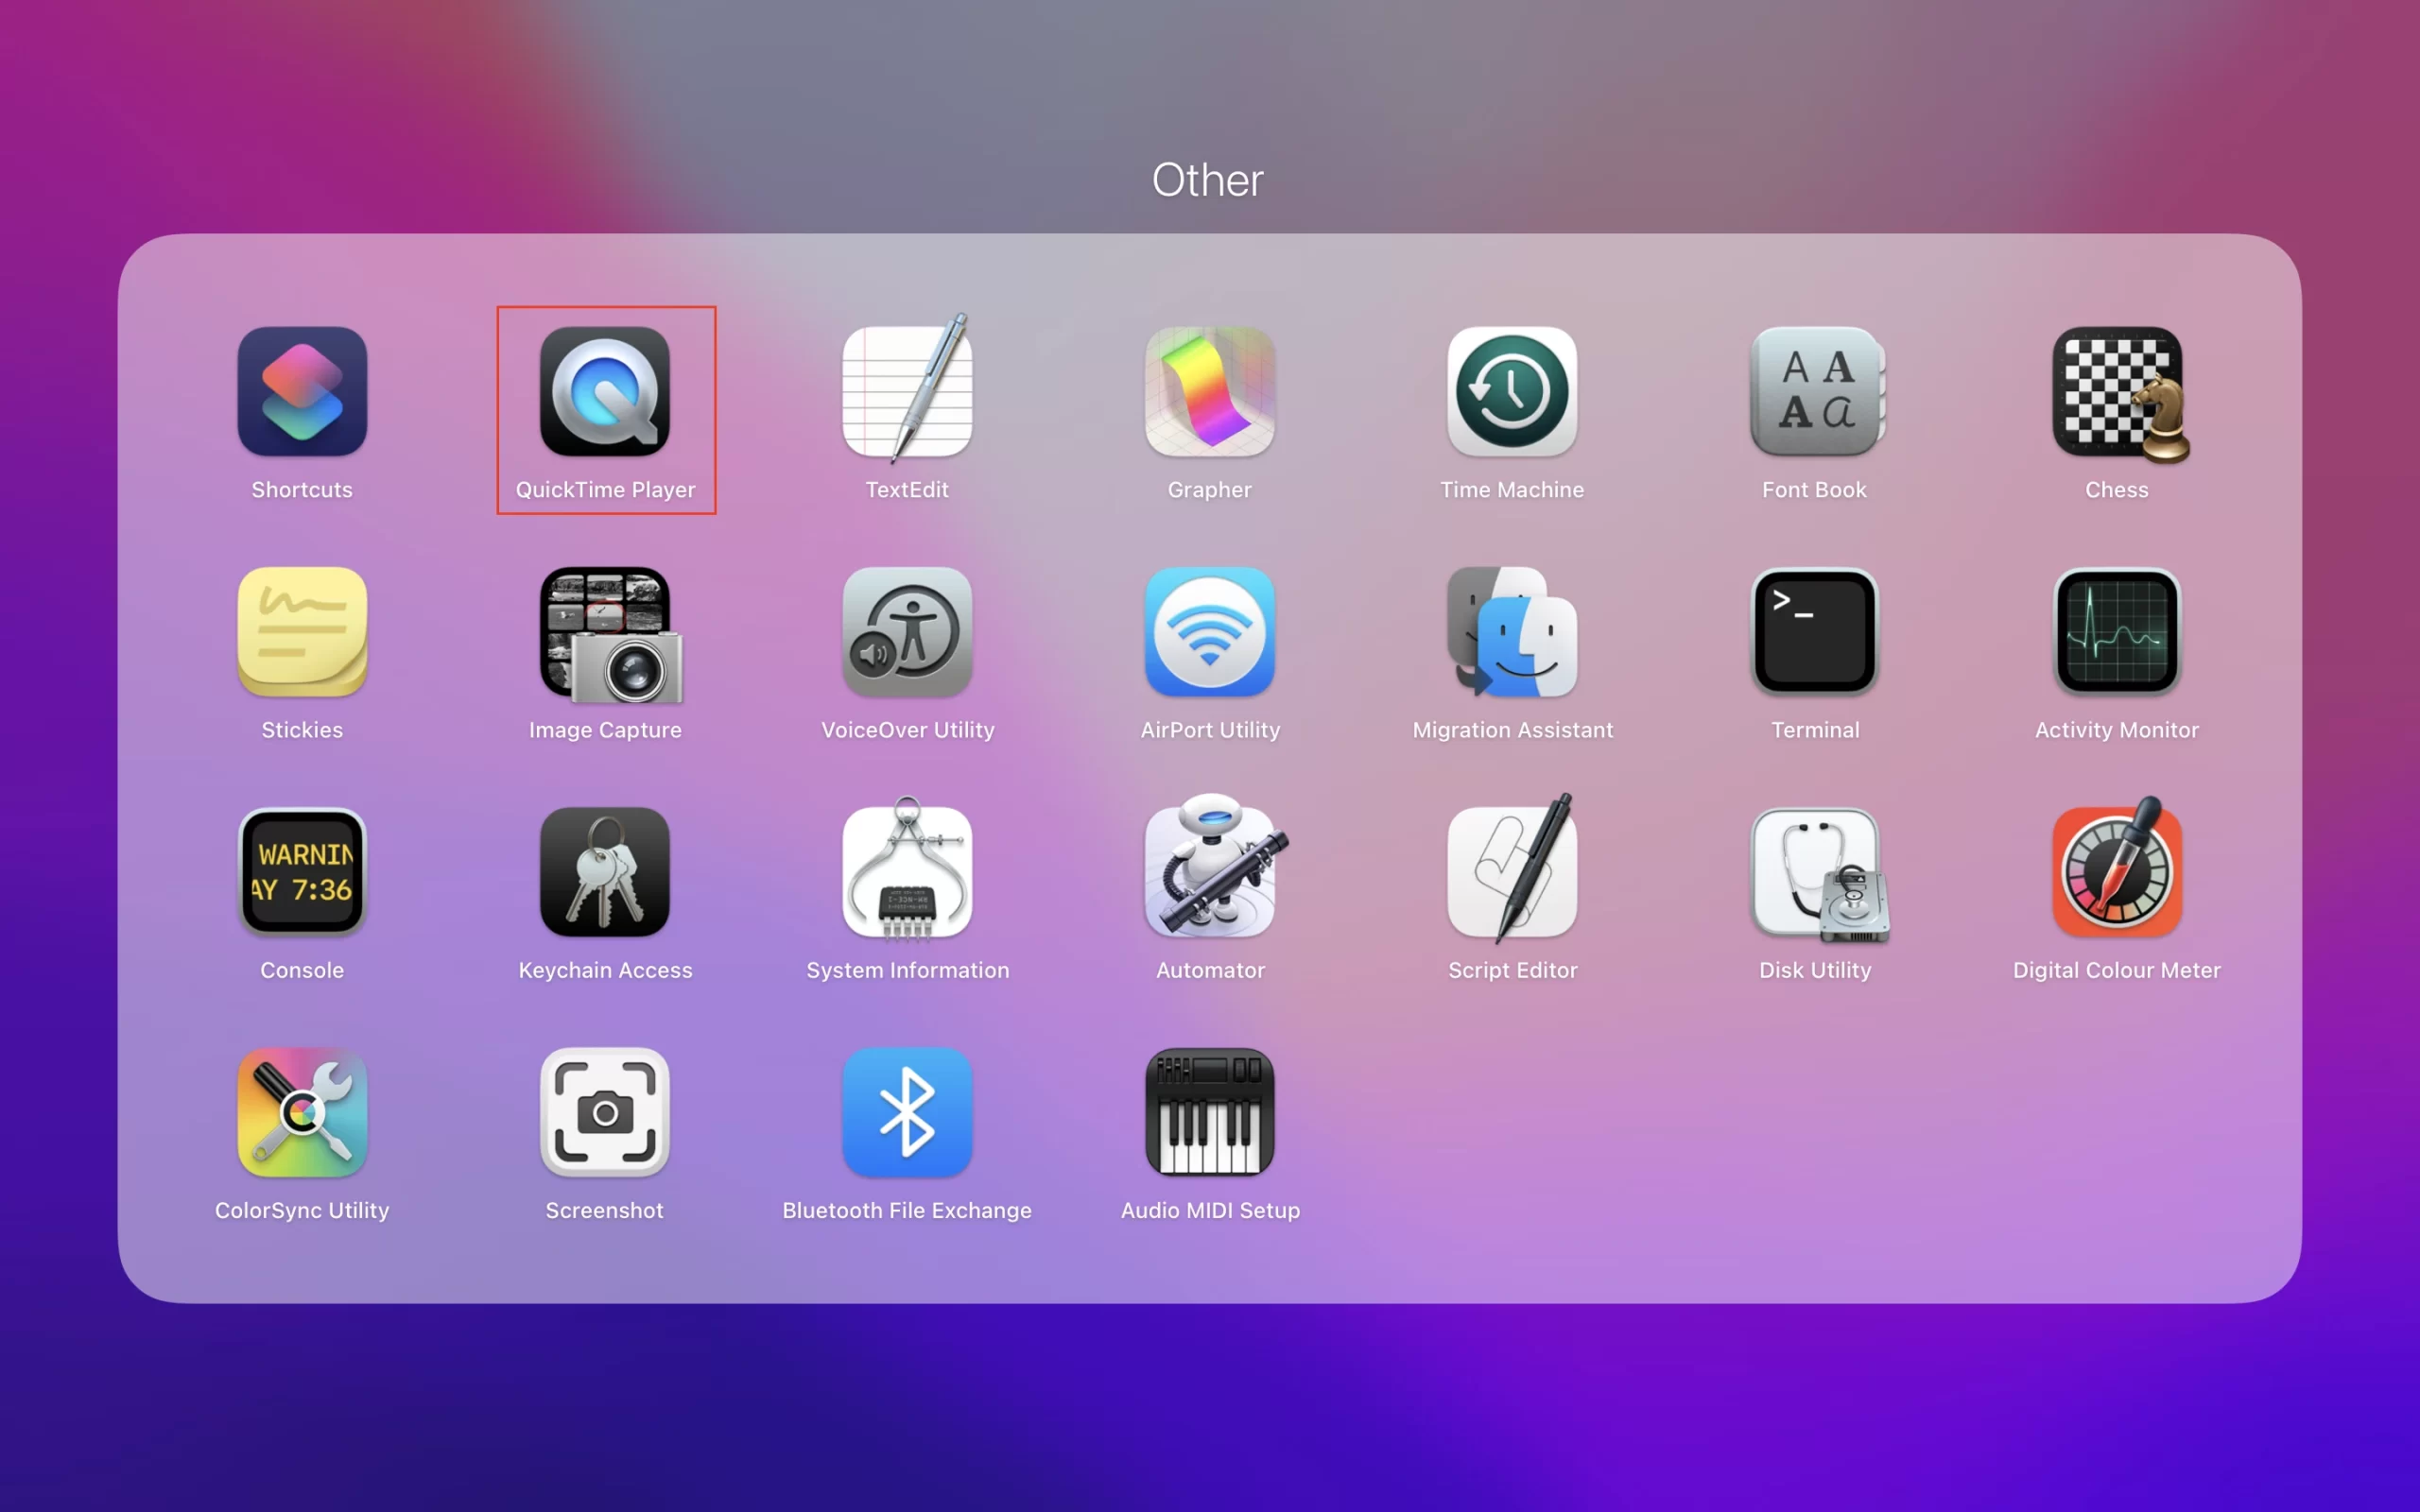
- After that, you should open the “Launchpad“.
- After that, you should open the “QuickTime Player“.
- Next, you should tap on the “File” and click on the “New Audio Recording” option.
- After that, you should tap on the red circle in the middle of the gray circle to start recording.
- Then, you should tap on the dark gray square to stop recording.
- To complete the process, you should tap on “File” and then click on the “Save” option. There you can name the recording and select the desired place to save it.
Since then, the new recording would be saved. You can access it whenever you want, as the files can be saved in the exact place you’ve chosen. There, you can easily share the recordings, even to the Android phone from Mac.
How to record internal audio using the SoundFlower on Mac
The SoundFlower app on Mac is one of the best in this field. It doesn’t take a lot of space, the interface is quite easy, and, moreover, you can get it for free. The SoundFlower driver app is only needed to route the audio output channel to the audio input channel. However, it’s a third-party app, and in case you have problems with that, you should at first allow the third-party apps on your Mac. So, if you want to record audio using the SoundFlower on Mac, you should follow the steps which would be mentioned in the section below:
- First of all, you should install the SoundFlower through this link.
- After that, you should double-click on the downloaded image file.
- Then, you should see a new window displayed, you should open the file SoundFlower.pkg.
- Next, you’ll see a system notification message displayed with the text “The SoundFlower.pkg application cannot be opened because its author is an unknown developer“. You should click on “OK“.
- After that, you should head to the macOS “System Settings” and click on the “Security and Privacy” tab.
- Then, you should tap on the lock icon in the lower-left corner, fill in your Mac administrator password, and then tap on the “Disable Lock” option.
- Next, you should confirm the login.
- After that, you’ll see a window displayed, you should tap on “Open” and follow the on-screen prompts to continue the installation.
- Then, you should open the “System Settings” app and head to the “Sound” tab.
- Next, you should click on “Soundflower (2 ch)” under the “Output” tab.
- To complete the process, you should head to the bottom of the “Input” tab and click on “Soundflower (2 ch)“.
Since then, the SoundFlower app would be installed on your Mac and would be ready to be fully used. So, as you can see, you need some effort to install it on your Mac, however, the interface of the app is quite simple and the function astonishes.
Read also:
- Does it worth owning a Mac and a PC at the same time
- How to stop Spotify from opening on startup on Windows or Mac
- How to set up a recovery contact on Mac, iPhone, or iPad
How to record sound on a Mac online with Screencapture.com
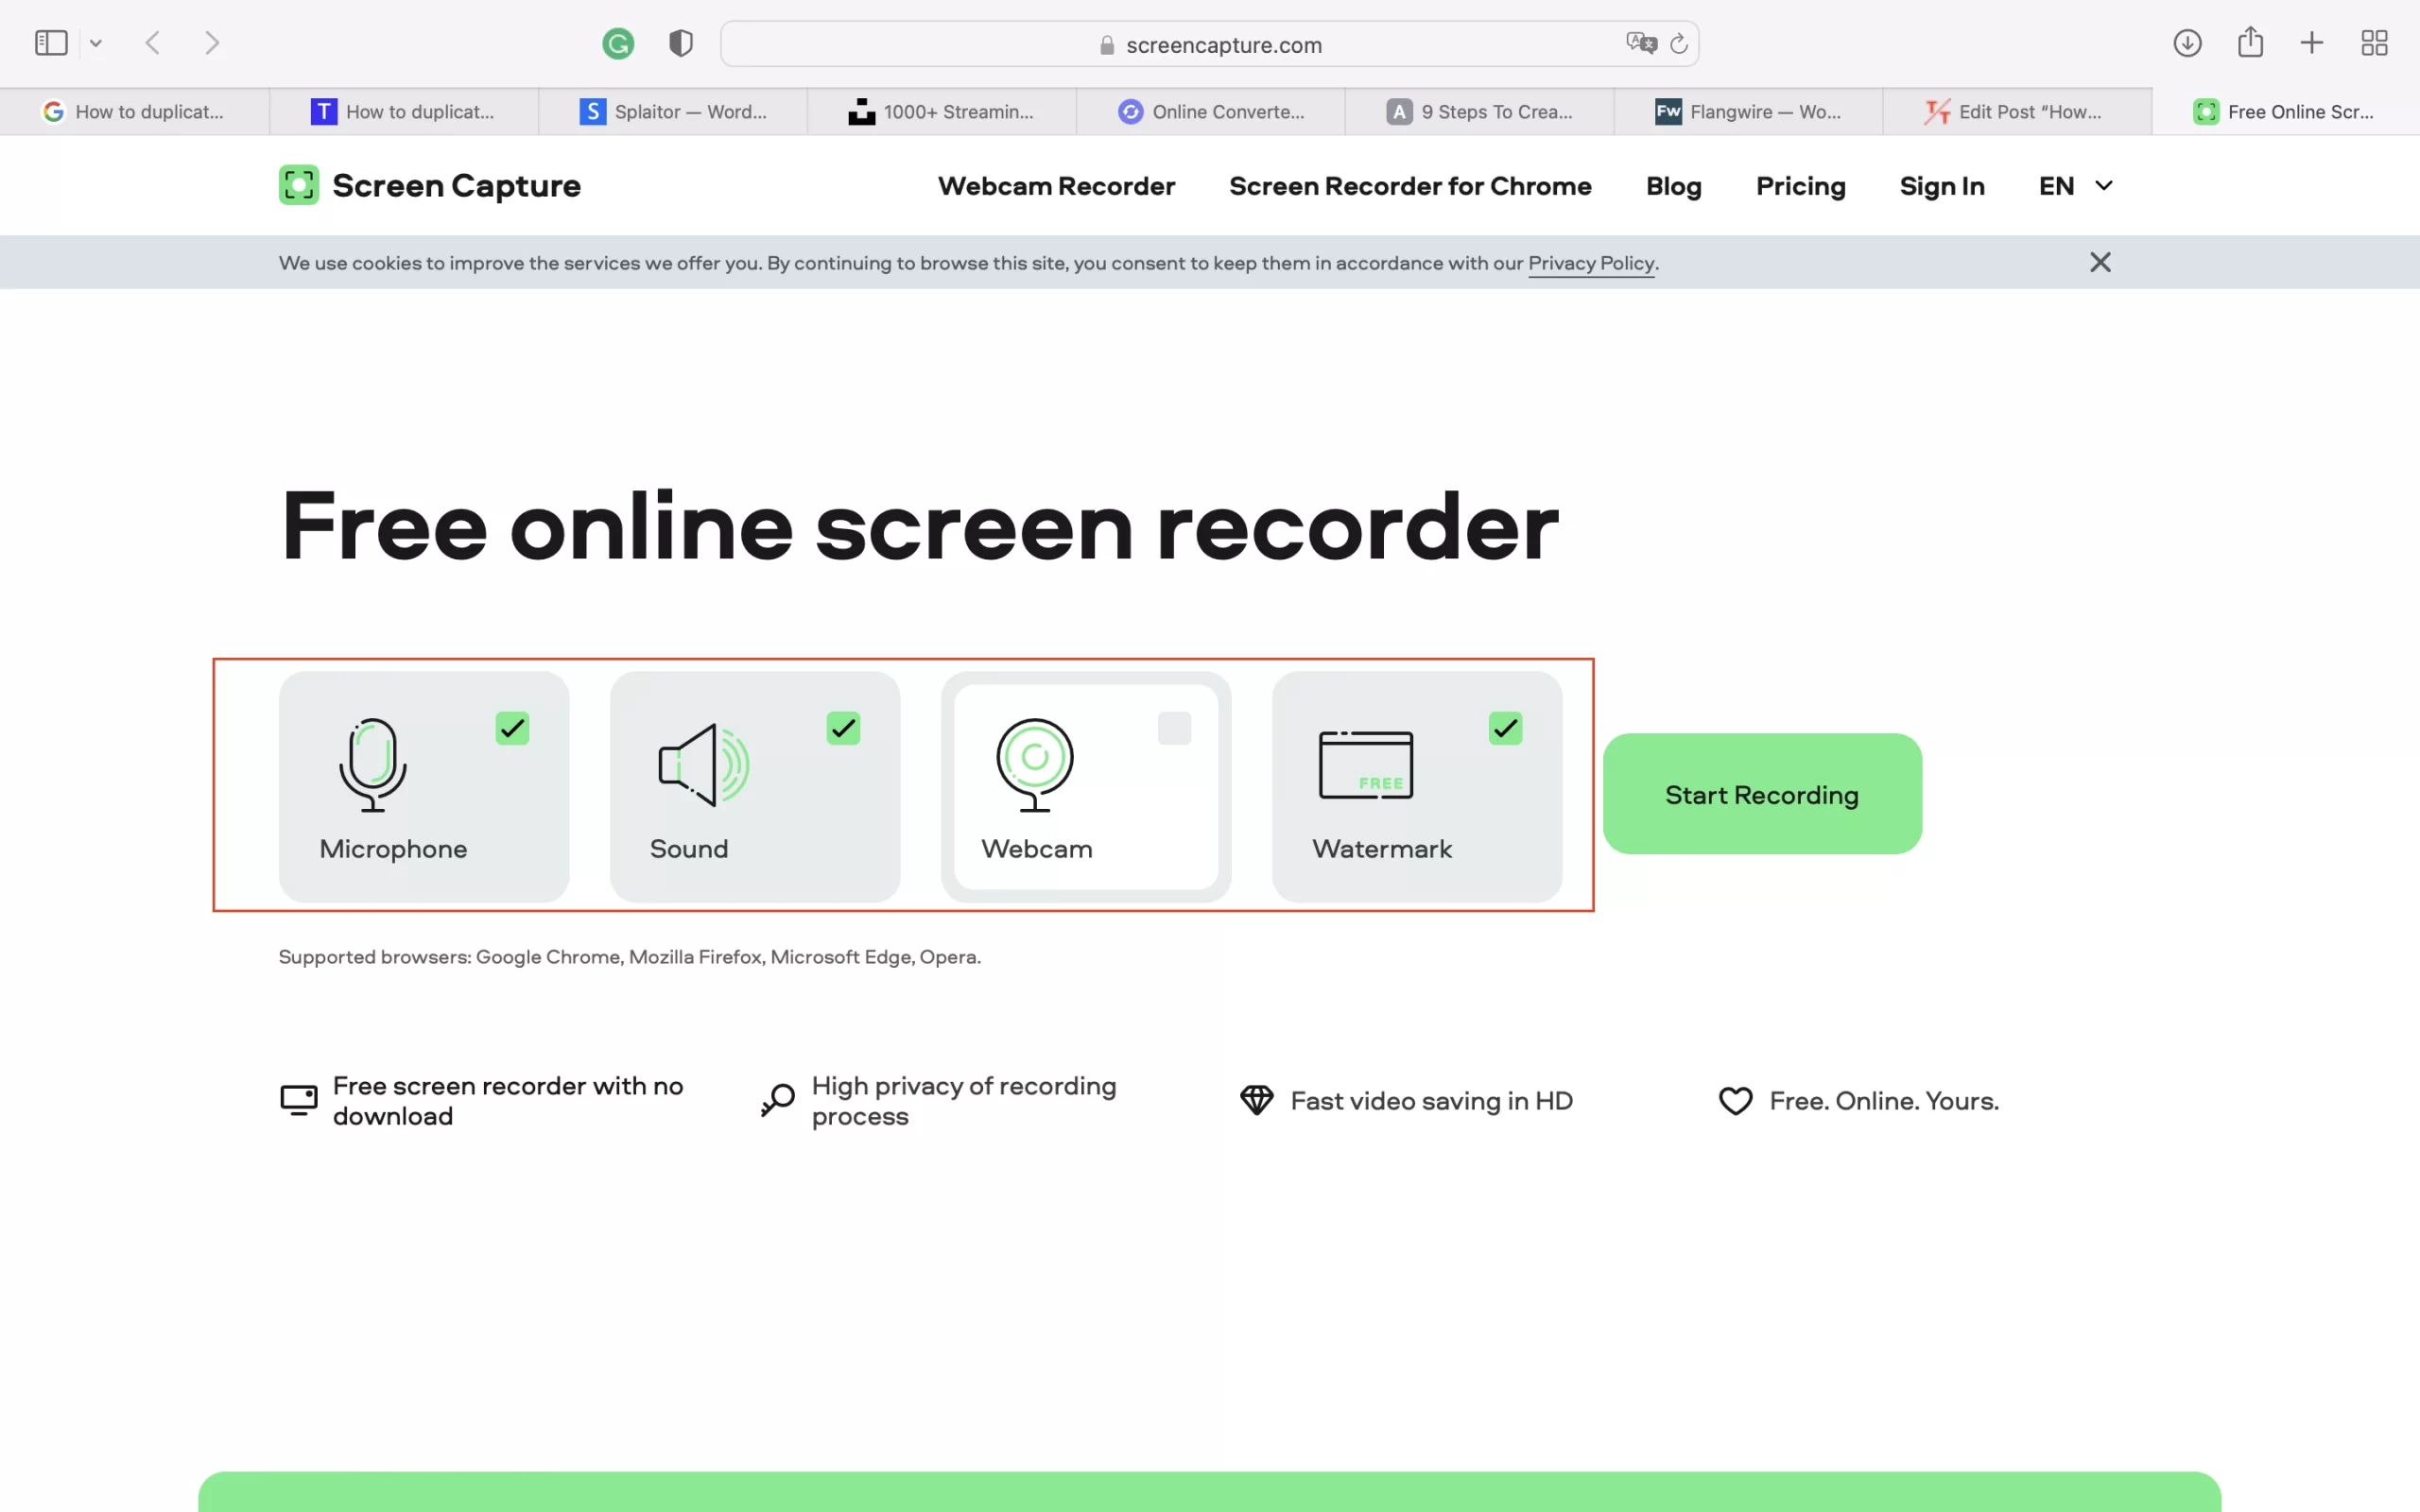
Audio on Mac can also be recorded online. So, basically, you’ll only need to visit the website. Screencapture.com is one of the best ones. It gives you an opportunity to record audio on a Mac via a microphone or the computer sound function. You’ll be able to record anything you want in a few clicks and the recording would be high-quality. So, if you want to record sound on Mac using the Screencapture. com, you should follow the steps which would be mentioned in the section below:
- First of all, you should visit the Screencapture.com website.
- After that, you should choose sound output options: microphone (voice) or computer sound (internal computer sounds).
- Then, you should tap on the “Start Recording” option.
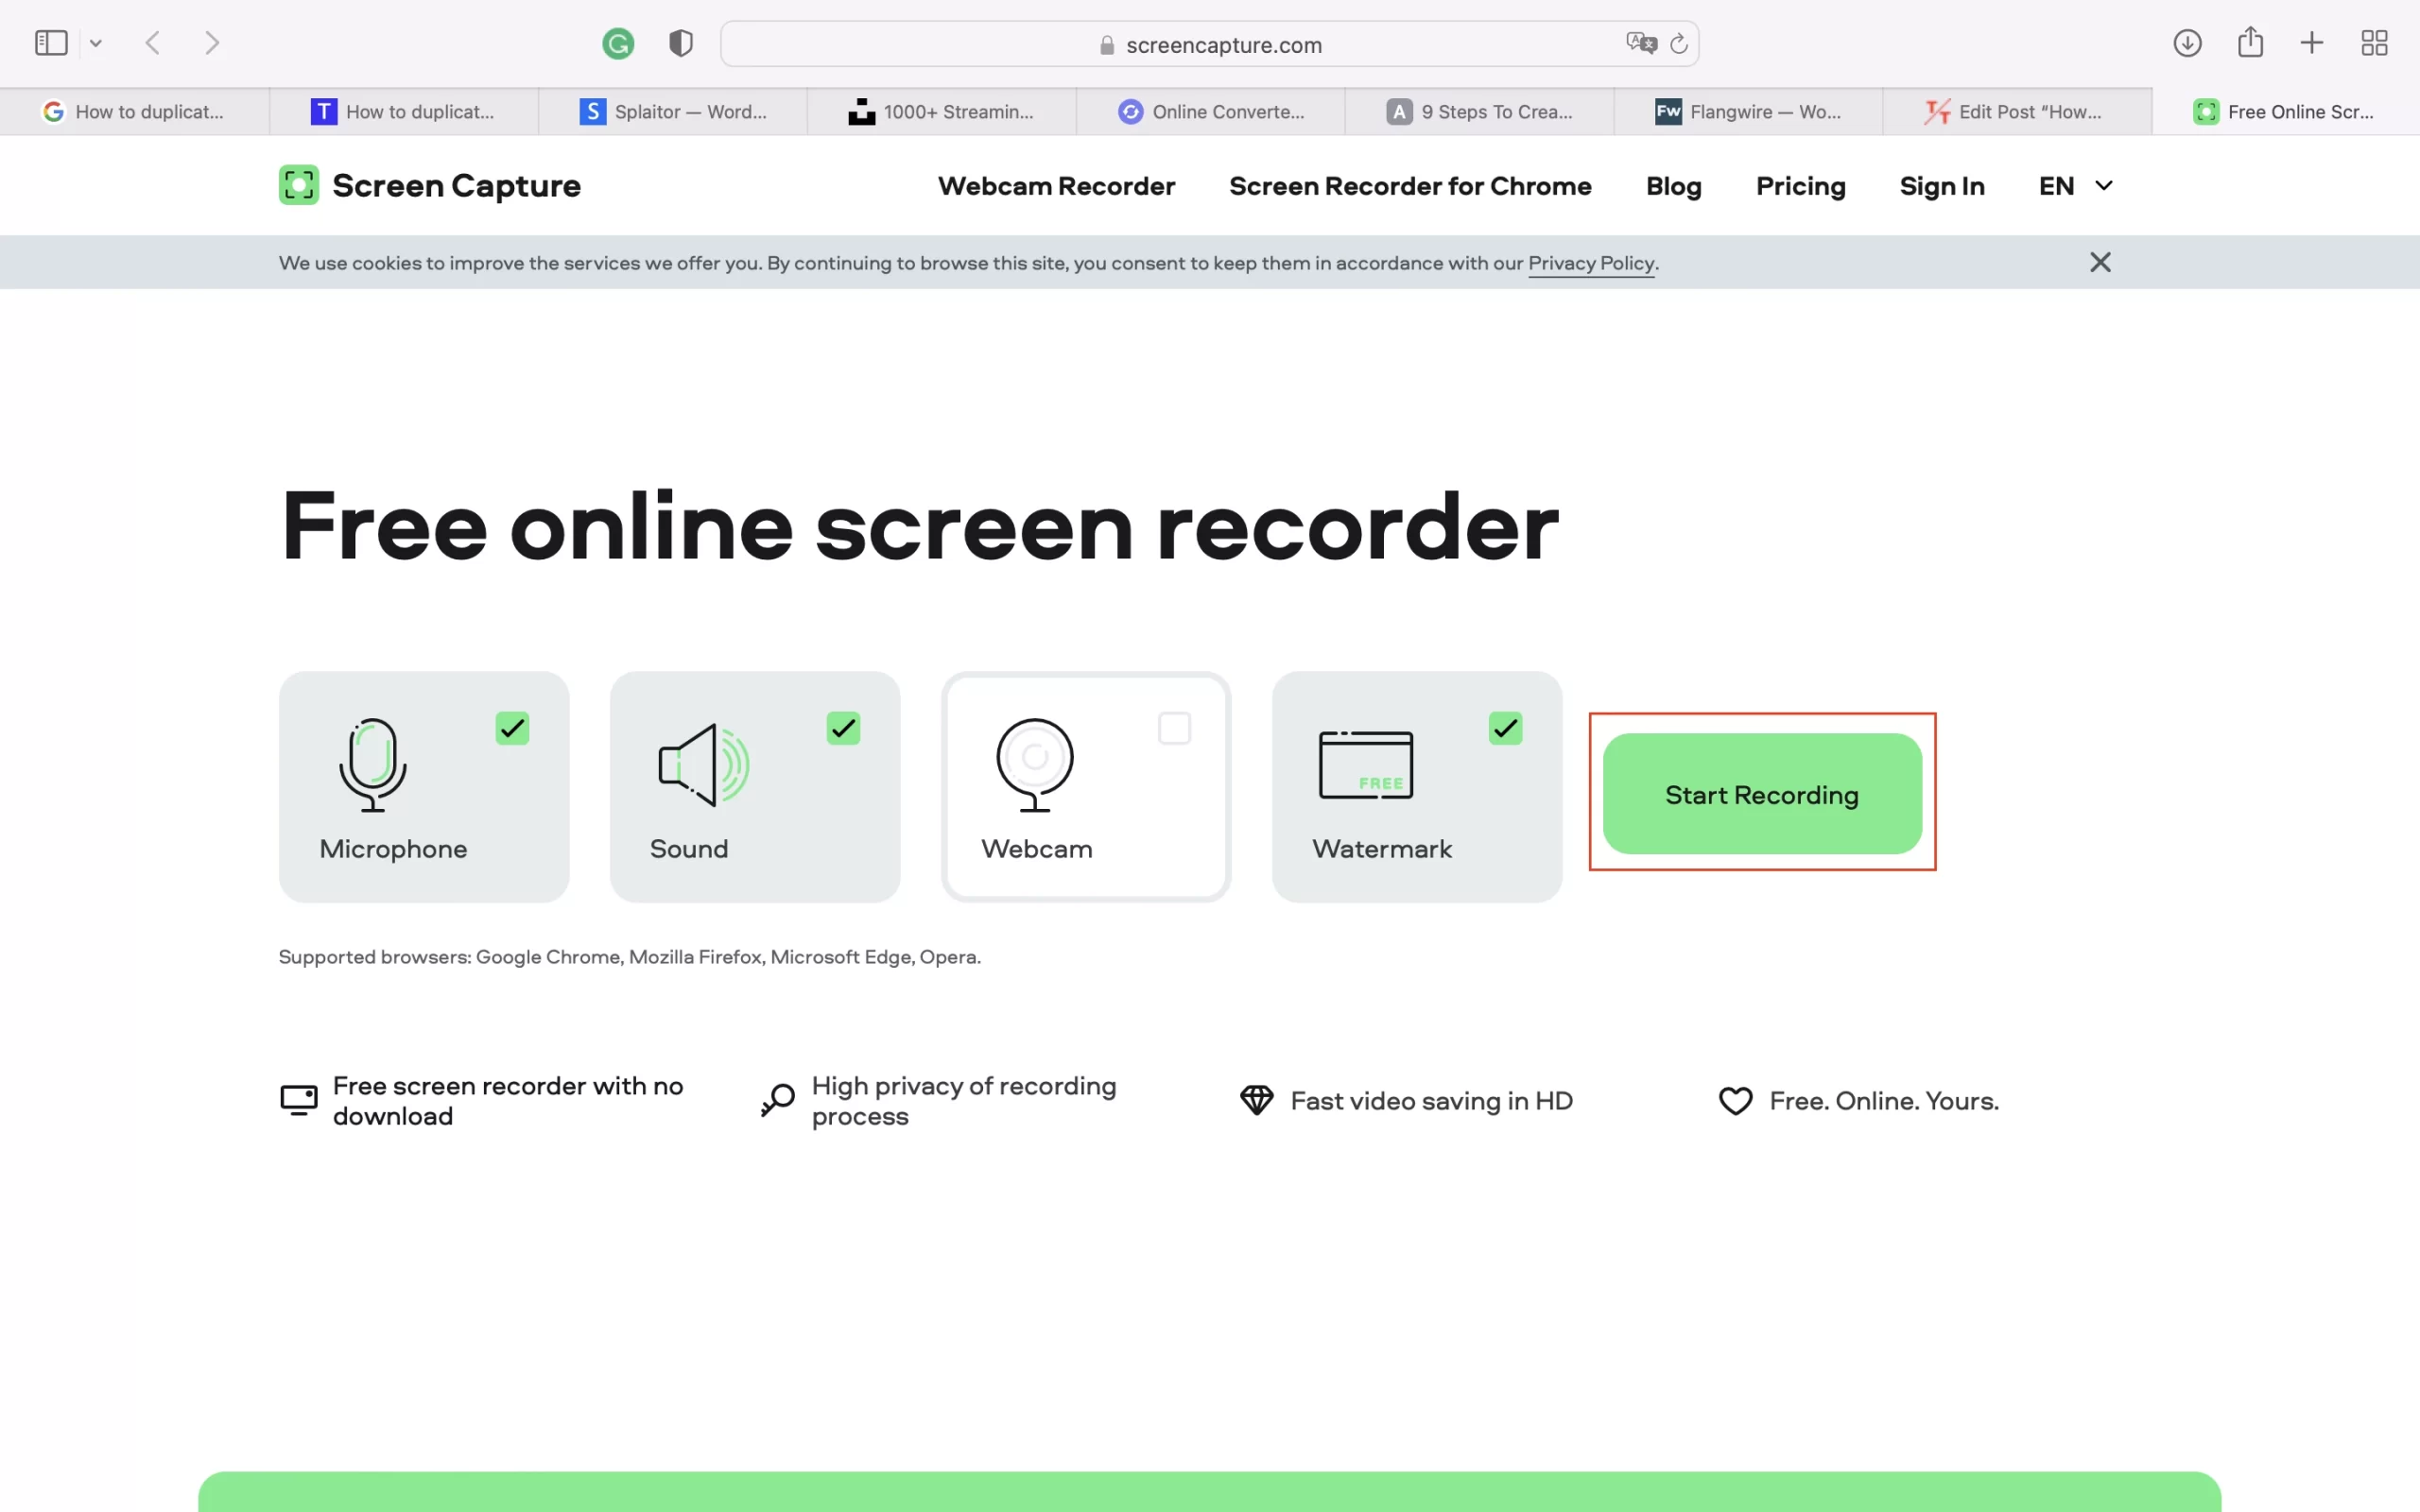
- When you’ve finished the thing you want to record, you should tap on the “Stop Recording” option.
- To complete the process, you should save your file to your computer.
Since then, the recording would be saved on your computer. Using the website is a great idea for those who don’t want to install something additionally on Mac. So, it depends on you which method would be the most convenient for you.


