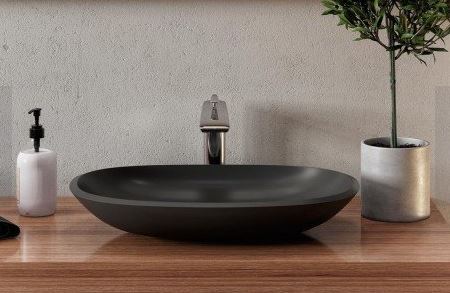
Tips on How to Install a Bowl Sink Like a Pro
To give the bathroom an exclusive and sophisticated look, designers recommend installing sinks on a countertop or any adapted cabinet. If you happened to settle on a specific item among multiple vessel bathroom sinks offered on the market, it’s time to take care of installing it.
Note that a vanity top can come in a variety of materials. Often, stylish bathrooms feature countertops made of granite, concrete, laminate, or other hard surfaces.
Facts to Consider Before Installing
The process of installing a bowl sink involves drilling fixing holes. Depending on the model you choose, you may also need to make additional holes to attach a drain or tap. A smarter option would be to select models that already have pre-cut holes like those top-notch bathroom fixtures found at https://www.aquaticausa.com/category/outdoor-showers. This way, you can save some bucks and avoid extra pain in the neck.
When it comes to countertops made of natural or artificial stone, the situation looks somewhat more challenging. It is best to turn to the manufacturer or dealer and order cutting the required number of holes using professional equipment.
Instructions on How to Install a Sink
It is advisable to opt for items that are supplied with a mounting ring or a special gasket. These elements allow you to fix the sink to the countertop without much effort. Place the mounting ring over the drain hole and then position the bowl sink precisely over the gasket that rests on the countertop. Professional contractors also advise lubricating these elements with silicone sealant. It will provide additional moisture protection.
Final Steps
For the installation to go like clockwork, it is desirable to have an assistant on hand. A help-mate will hold the bowl sink in place while you will be fixing a drain flange and attaching a siphon to the sink drain. Most siphons can be installed relatively quickly if you follow the manufacturers’ instructions. You will need to fix several union nuts at the points where the siphon is connected to the sink.
After completing the installation, check the tightness of all the connections. Let the water into the sink and then fill it by closing the drain hole. If the volume of water does not decrease over time, then you did everything right.


